Aug 6, 2024
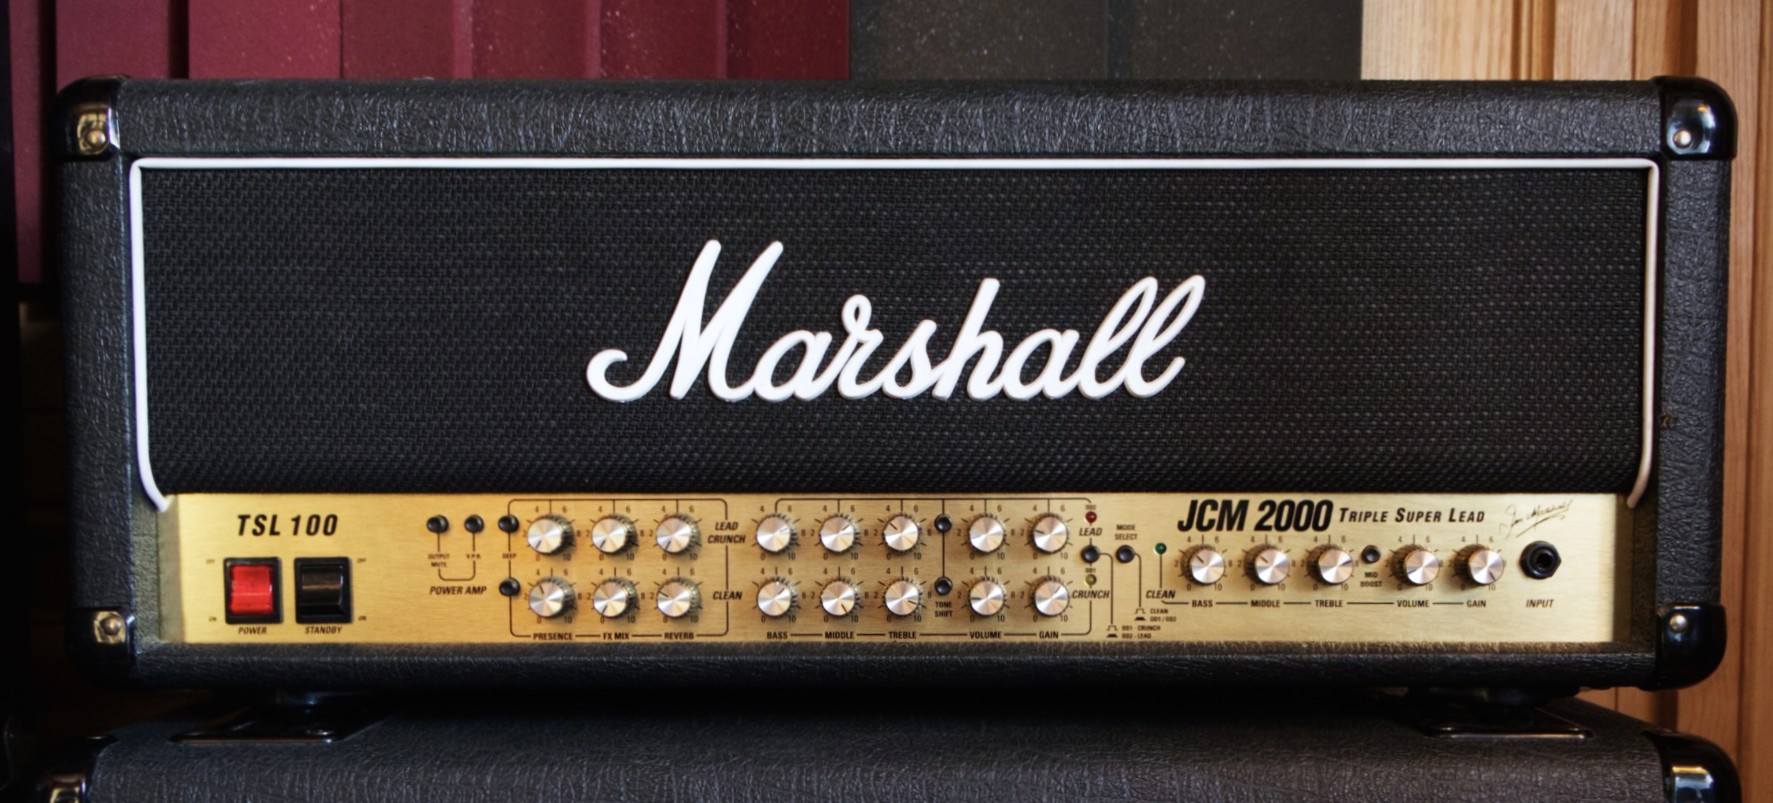
As any seasoned guitarist knows, the Marshall JCM2000 TSL100 is great sound for it’s value, and a great studio workhorse. So, when our beloved amplifier started to only produced a faint sound even when cranked up, we knew it was time for maintenance. The power transformer was fine, the tubes were in good condition, and everything in the preamp section worked perfectly. Yet, the amp was barely audible. Here’s how we diagnosed and fixed the problem.
Initial Diagnosis
First, we considered taking the amplifier to a technician. However, with quotes around 200 euros just to check everything or replace the main boards for around 600 euros, we decided to dig in ourselves. Here's how we went about doing that:
Documenting Everything: We wrote down all the interconnection wires, their colors, and took detailed pictures of the board to ensure we could reassemble the amp to factory specs.
Focusing on the Power Amp Section: Since the preamp section was working perfectly, we directed our attention to the amplification stage where all the tubes are located.
Testing Components
We tested every single resistor and capacitor, not to measure their exact readings but to check for any short circuits or open circuits. Everything seemed visually in perfect order until we reached R3, a resistor with a value of 82k Ohms, located right after the preamp section and before the power amp.
The Culprit: R3 Resistor
Upon testing, we discovered that R3 was open – there was no conduction or resistance. This resistor feeds the audio signal from the preamp to the power amp circuit. With this resistor dead, it made sense why the signal wasn't reaching the power amp correctly.
Replacing the Resistor
We sourced a new 82k Ohm resistor, took the amplifier apart, and replaced the faulty resistor. During reassembly, we cleaned some solder joints and applied Deoxit D100L to some connections to improve conductivity and protect against corrosion. After triple-checking all connections, it was time for the moment of truth.
The Moment of Truth
We fired up the amplifier, waiting for the tubes to heat up on standby. With bated breath, we flicked the switch and slowly raised the volume. To our immense relief and joy, the amplifier roared back to life. Rock’n Roll was back in the studio!
Conclusion
In the end, the repair cost us only time and a 40-cent resistor, a far cry from the 200 euros we might have spent. This experience not only saved us money but also gave us a deeper understanding of our amplifier. If you’re experiencing similar issues, don’t hesitate to methodically AND CAREFULLY test each component – you might just find a simple and inexpensive fix.
Keep rocking, and remember, sometimes the most rewarding repairs are the ones you do yourself!

